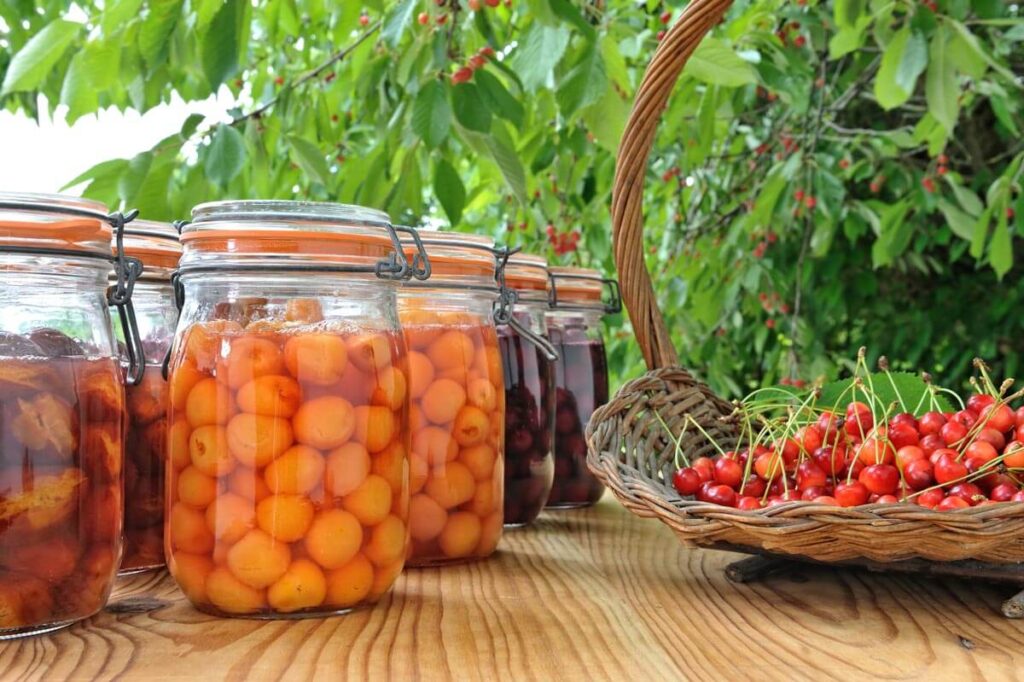
There’s nothing quite like the taste of fresh summer fruits—juicy peaches, ripe berries, and sweet cherries bursting with flavor. Unfortunately, summer doesn’t last forever, but canning allows you to enjoy these seasonal delights all year long. Preserving fruits through canning not only extends their shelf life but also locks in their vibrant flavors, making them perfect for jams, sauces, and desserts. Whether you’re a beginner or an experienced home cook, learning the art of canning can be both rewarding and practical.
1. Why Canning is a Great Way to Preserve Fruits
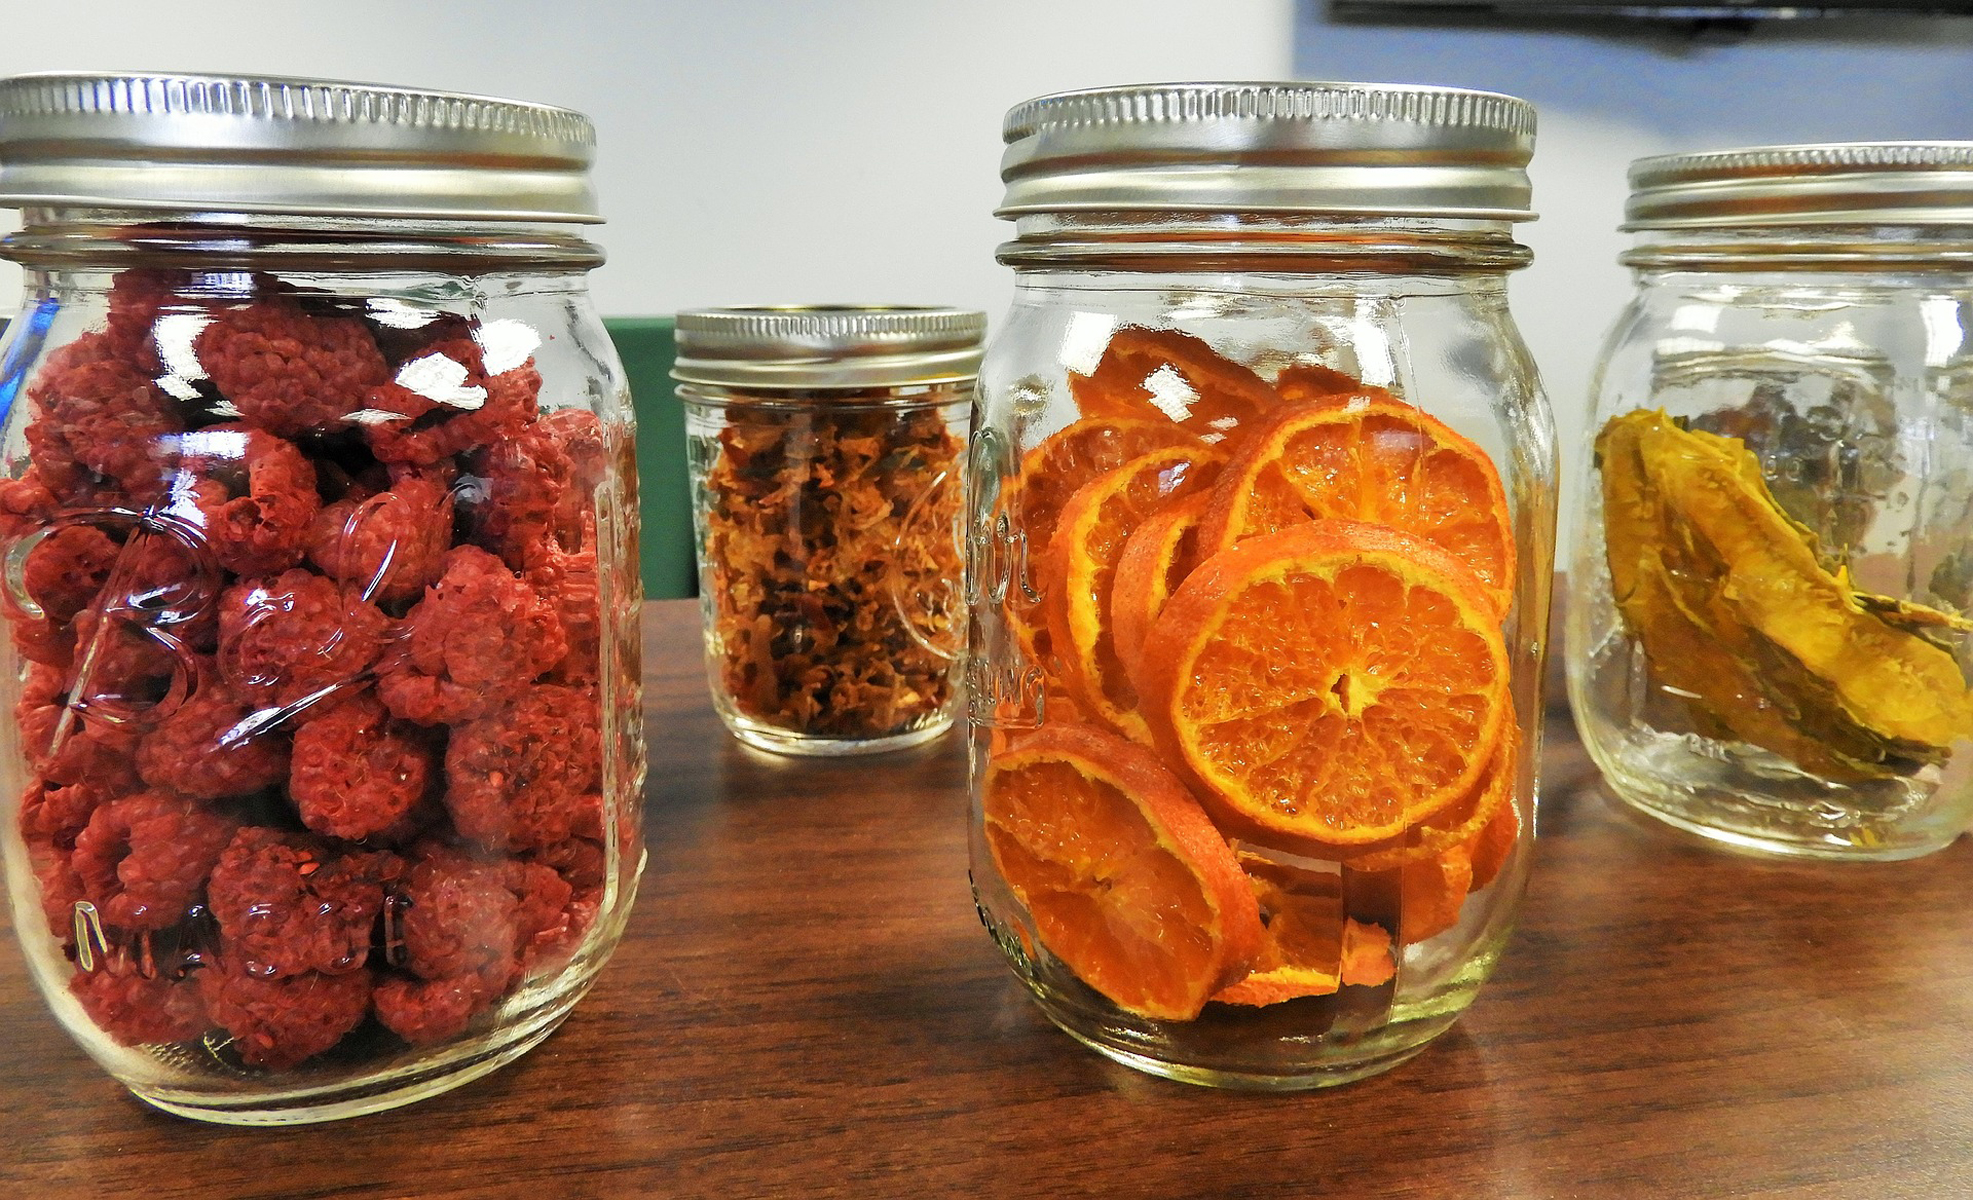
Canning is one of the oldest food preservation methods, allowing you to enjoy the natural sweetness of fruits long after the season ends. Here’s why it’s a great choice:
- Retains Nutrients and Flavor: Unlike store-bought canned fruits, homemade versions contain fewer preservatives and retain more vitamins.
- Reduces Food Waste: Canning helps prevent excess fruit from going bad, making use of seasonal abundance.
- Saves Money: Buying fresh fruits in bulk during peak season is more affordable than purchasing out-of-season or processed alternatives.
- Enhances Creativity in the Kitchen: Homemade jams, fruit syrups, and preserves make wonderful gifts and versatile ingredients for cooking and baking.
2. Essential Equipment for Canning
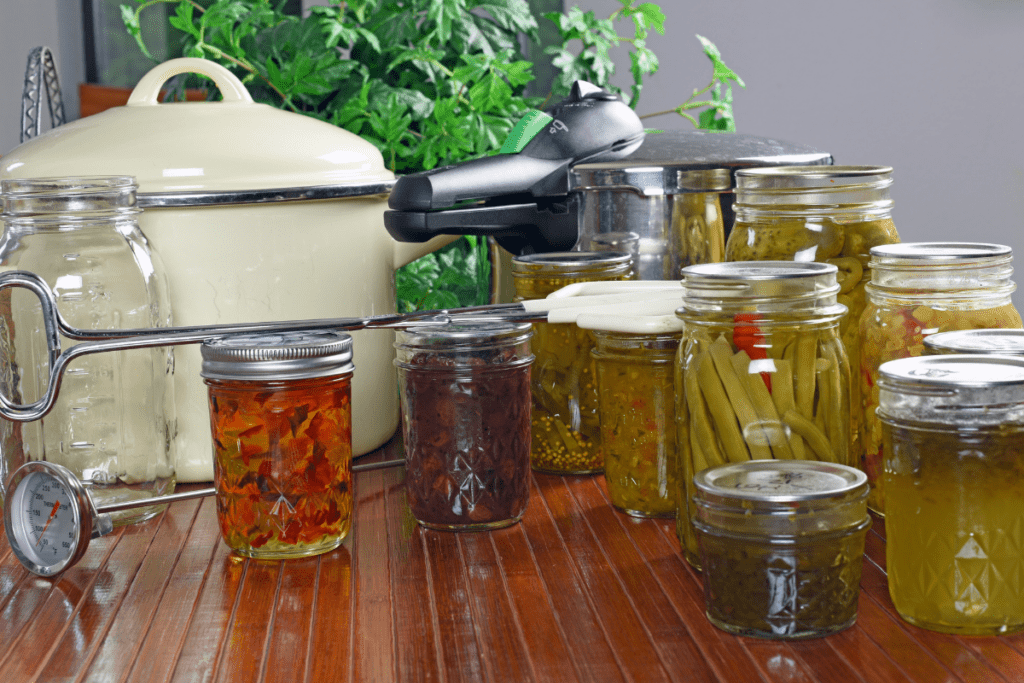
Before you start, it’s important to have the right tools. Here are the essentials:
- Canning Jars and Lids: Mason jars with two-part lids (flat lids and screw bands) are best for sealing properly.
- Large Pot or Canner: A water bath canner or deep stockpot is essential for boiling the jars and ensuring a safe seal.
- Jar Lifter and Funnel: These tools help handle hot jars safely and pour fruit mixtures without making a mess.
- Pectin (Optional): If you’re making jams or jellies, pectin helps them set properly.
3. Step-by-Step Guide to Canning Summer Fruits
Step 1: Choose and Prepare Your Fruits
Select ripe, unblemished fruits for the best results. Wash them thoroughly, remove pits or stems, and slice them as needed. For peaches and tomatoes, blanching (briefly boiling and then cooling in ice water) makes peeling easier.
Step 2: Prepare the Jars
Sterilizing jars is crucial to prevent spoilage. Wash them in hot, soapy water and then boil them for 10 minutes. Keep them warm until ready to use. Lids should be heated but not boiled, as high heat can weaken the sealing compound.
Step 3: Make a Simple Syrup or Juice
Depending on how sweet you want your preserved fruits, you can prepare a light or heavy syrup using sugar and water. Alternatively, you can use fruit juice for a more natural preservation method.
Step 4: Pack the Jars
Pack the prepared fruits into the sterilized jars, leaving about ½ inch of space at the top. Pour hot syrup or juice over the fruit, ensuring they are fully submerged. Remove any air bubbles using a non-metallic utensil.
Step 5: Seal and Process the Jars
Wipe the jar rims with a clean cloth, place the lids on top, and screw the bands on firmly but not too tight. Process the jars in a boiling water bath for the recommended time (usually 10-20 minutes, depending on altitude and fruit type).
Step 6: Cool and Store
After processing, carefully remove the jars and let them cool at room temperature for 12-24 hours. You’ll hear a satisfying “pop” sound as the lids seal. Store properly sealed jars in a cool, dark place for up to a year. Any unsealed jars should be refrigerated and used within a few weeks.
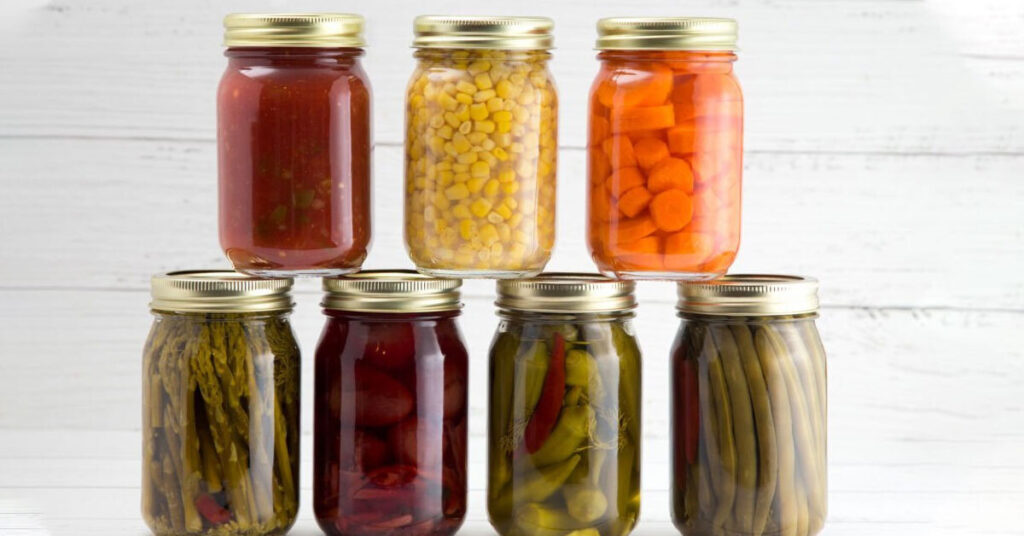
4. Popular Fruits for Canning and Their Uses
Different fruits can be preserved in various ways. Here are some delicious options:
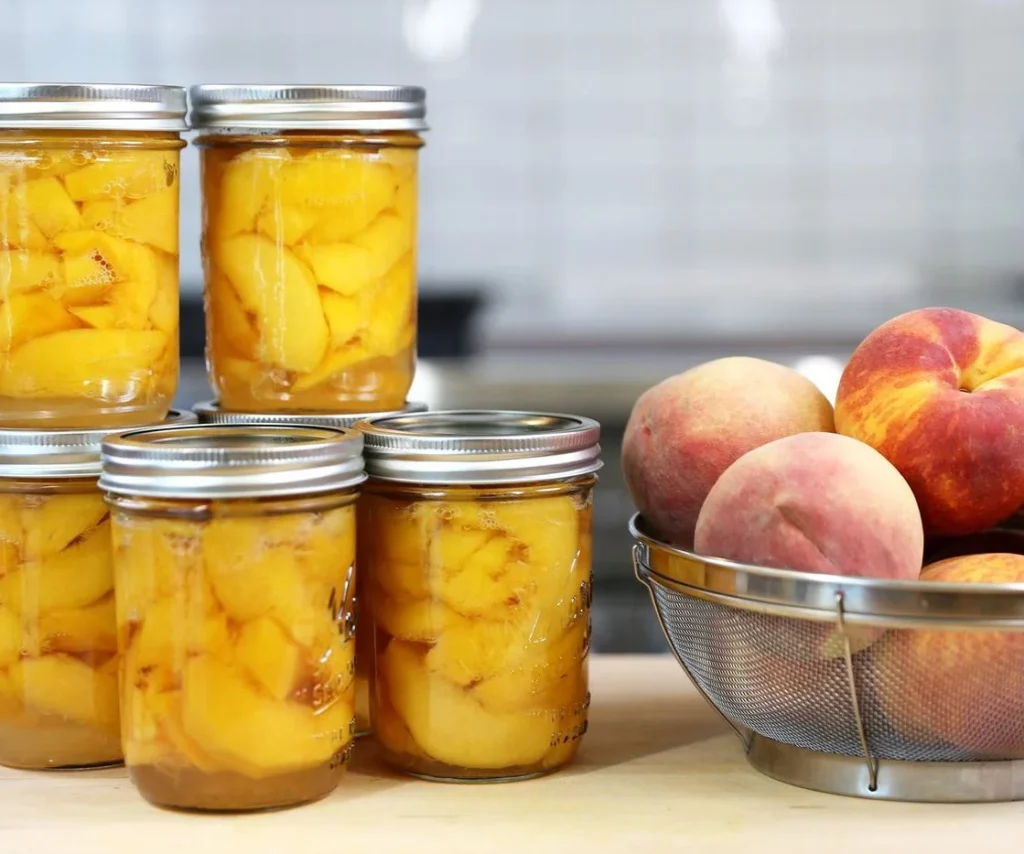
- Peaches and Nectarines: Great for syrups, preserves, or pie fillings.
- Strawberries and Blueberries: Perfect for jams, jellies, or sauces.
- Cherries: Delicious when canned whole or turned into cherry preserves.
- Tomatoes (technically a fruit!): Ideal for sauces, salsas, and soup bases.

5. Enjoying Your Preserved Fruits
Once your canned fruits are ready, there are endless ways to enjoy them: spread jam on toast, mix fruit syrups into yogurt, bake pies, or use them as toppings for pancakes and ice cream. Preserving summer fruits allows you to savor the taste of sunny days even in the depths of winter.
With a little effort and practice, canning can become a delightful and satisfying tradition. Not only does it keep your pantry stocked with homemade goodness, but it also connects you to the rich history of food preservation. So grab some fresh fruits, gather your supplies, and start preserving summer’s best flavors today!